
Ixion is a group of bikers talking in a virtual pub. Several times each year we get together at various places in the country to drink 9000 pints of beer and talk bollocks. One of the meetings happens in summer at the Talyllyn Railway, where we hire a train for the evening, ride up the line and back as far as Abergynolwen, where we spend a few hours having a barbecue and drinking beer, before riding back down to Pendre and the pub.
Every year from the beginning we've had a headboard with 'Ixion' written on it. I remember the first year when I saw the headboard and smiled, feeling good about us having our own train with our name on it. Last year I thought it would be good to have the headboard made of something a little more permanent so I set out to make one in metal.
This blog is the story of that process.
The original headboard was curved to fit the size of smokeboxes on the Talyllyn railway and I wanted to keep that shape but add a wheel to represent not only the mythical Ixion but also the group's involvement with motorbiking.

I used two layers of 6mm MDF to make the pattern.
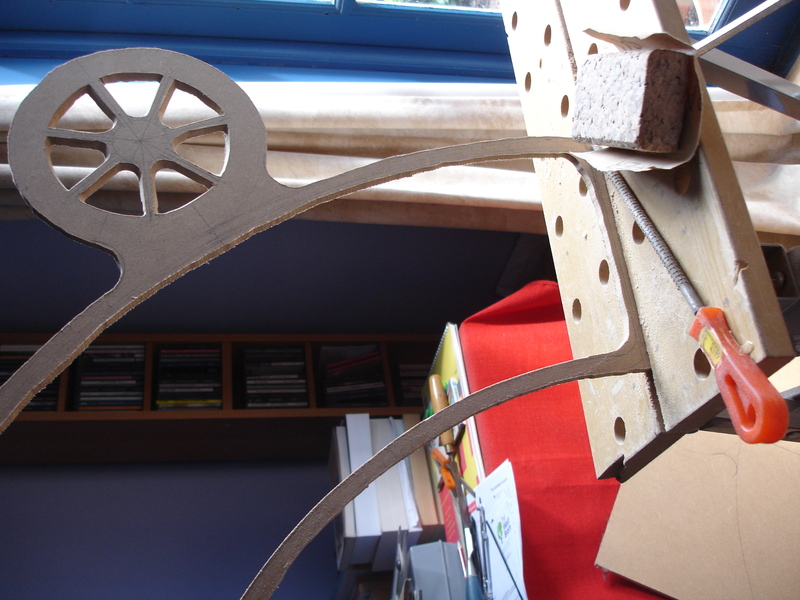
I began with a cardboard template, visible at the left of the photo, that John Bilsbury made for me from the original headboard. I measured the depth of the chord and width across it and then using a formula I got from the Machinery's Handbook I calculated the radius of the lower curve of the headboard. Then using thread, a pin and a pencil marked out the curves of the headboard onto the MDF. A little trial and error got me the best diameter for the wheel atop the headboard and I marked it on and used a draughtsman's template to mark suitable radii for the neck of wheel onto the shoulders of the headboard.

Next I marked up the raised edge, spokes and lettering onto the outline of the headboard.
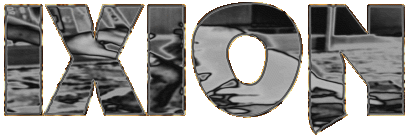
I copied the font for the lettering from the Ixion logo on the website.
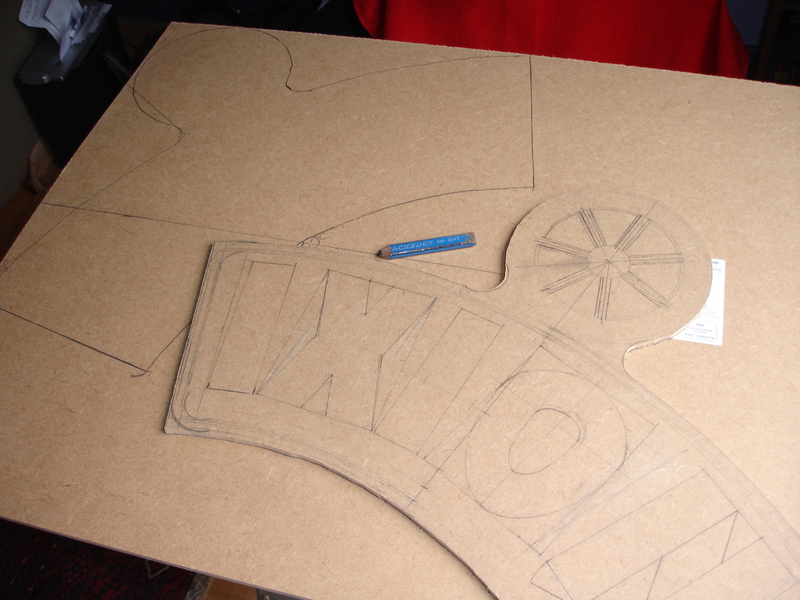
After marking it all out I cut the pattern from the sheet of MDF using hand saws and then laid it onto the sheet and marked out another identical shape and cut that out too. I now had two layers, the upper layer marked with the wheel, border and lettering, and a backing layer.
I cut out the spaces between the spokes on the wheel by drilling, then chiselling and finally filing the edges to a chamfer so the pattern could be taken out of the sand when the casting mold was made.
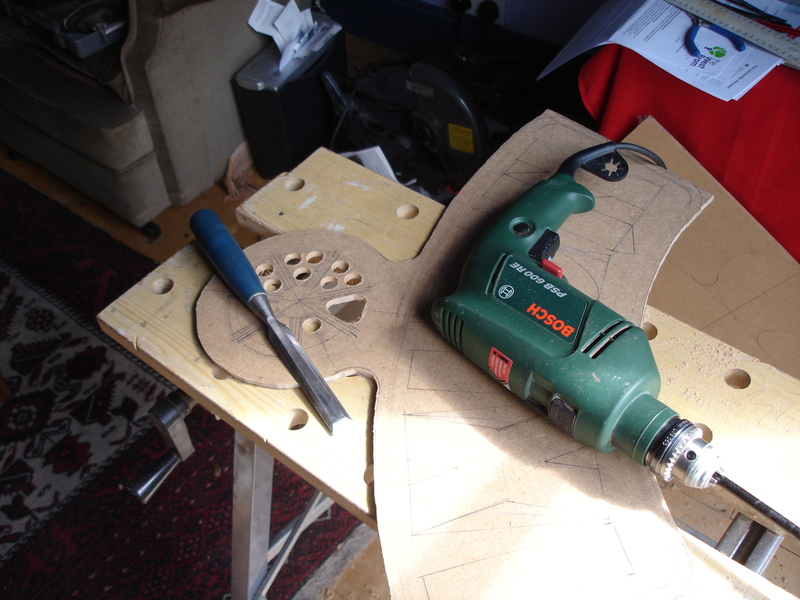
I then cut out the central part of this layer to make the raised edge to surround the name.
Like the spokes I chamfered the inner edge so that it could be pulled out of the sand box when the mold was made.
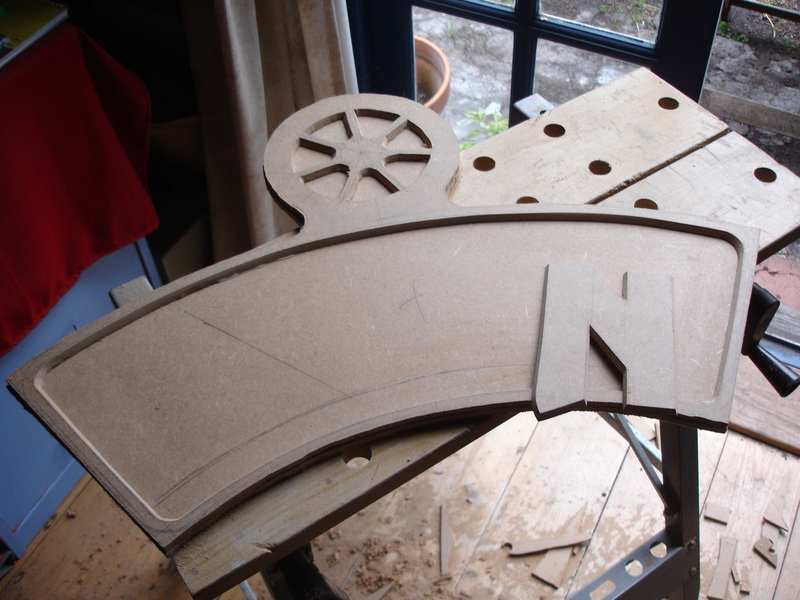
Now I glued this layer to the backing layer ready to apply the lettering.

While the glue was going off I cut out the letters and chamfered their edges.
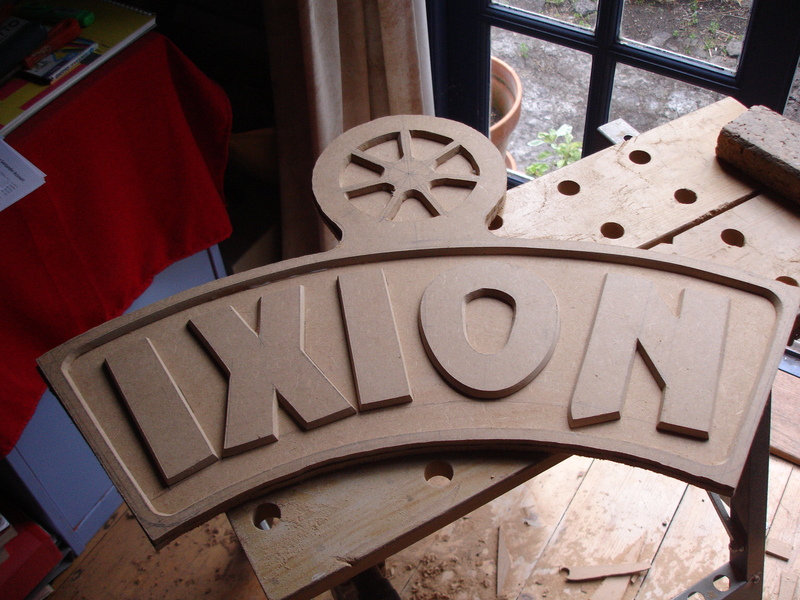
And then glued the letters onto the backing layer inside the raised border.

I filed and sanded the outside edge of the pattern to shape it and put a chamfer on it. That took quite a long time and unfortunately I didn't quite get it right on the bottom edge, so that when it was pulled out of the sand box it brought some sand with it leaving two large, thick pieces of flash to be filed off later.

If I'd known properly what I was doing I'd have made this better. I put two lugs on the back of the pattern so that I could make a slot to go over the bracket on the front of the firebox. I found out later that I could have had a slot cast into the back and so avoided having to fashion it later. I enjoyed making the fixing clamp, so I don't really mind the extra work.

I painted the pattern with primer and three coats of undercoat to get a nice, smooth surface. Meanwhile I visited Mike Brett at Bristol Foundry

It's very fine powder and feels almost wet, it spreads so easily. The little amount I've poured out in the photo was enough to do one side of the pattern...

... which ended up looking more like metal than painted board.

I delivered the pattern to Mike Brett and when I came back from a holiday he cast two headboards for me. You can see on the one on the left the large lumps of flash under the bottom curve. This was the same on both castings. I'll be more careful about chamfers on any future patterns.

On the backs of the casting you can see two large posts and two smaller lumps on the back of the wheel. The large posts are where the metal was poured into the mold, the smaller lumps are where Mike left passages for the molten metal to run after it had filled the mold.

Here you can clearly see the extra flash on the bottom curve as well as the little bits on the back edges and a little dimple centre front below the wheel where Mike had to make a hole to get the pattern out of the back mold.

I had two cast but was only fettling one, the other was for John to hang on his shed door. I used various power tools to work at the lumps on the rough cast but in the end good old elbow grease and a large, coarse rasp were what was needed.

A disadvantage of using power tools is the speed that they cut and the possibility to do unwanted harm. I over cut the lugs at the back, but not so much as to make them useless.

(Sorry about it being blurred. I blame the camera)
I enjoyed making the strap to go across the back. Drilling and tapping the lugs to hold the strap and drilling and tapping the middle of the strap itself to take the clamping screw.

And so when it was fettled I took it home and painted the edges, back and background matt black before taking wet and dry paper to the face of the letters, border and wheel and then polishing them with autosol.

At Pendre in the shed we checked to make sure the headboard would fit on the engine and it did. That's me looking well pleased.
And here it is looking shiny and lovely against the black of the engine and pale blue of the sky.
